
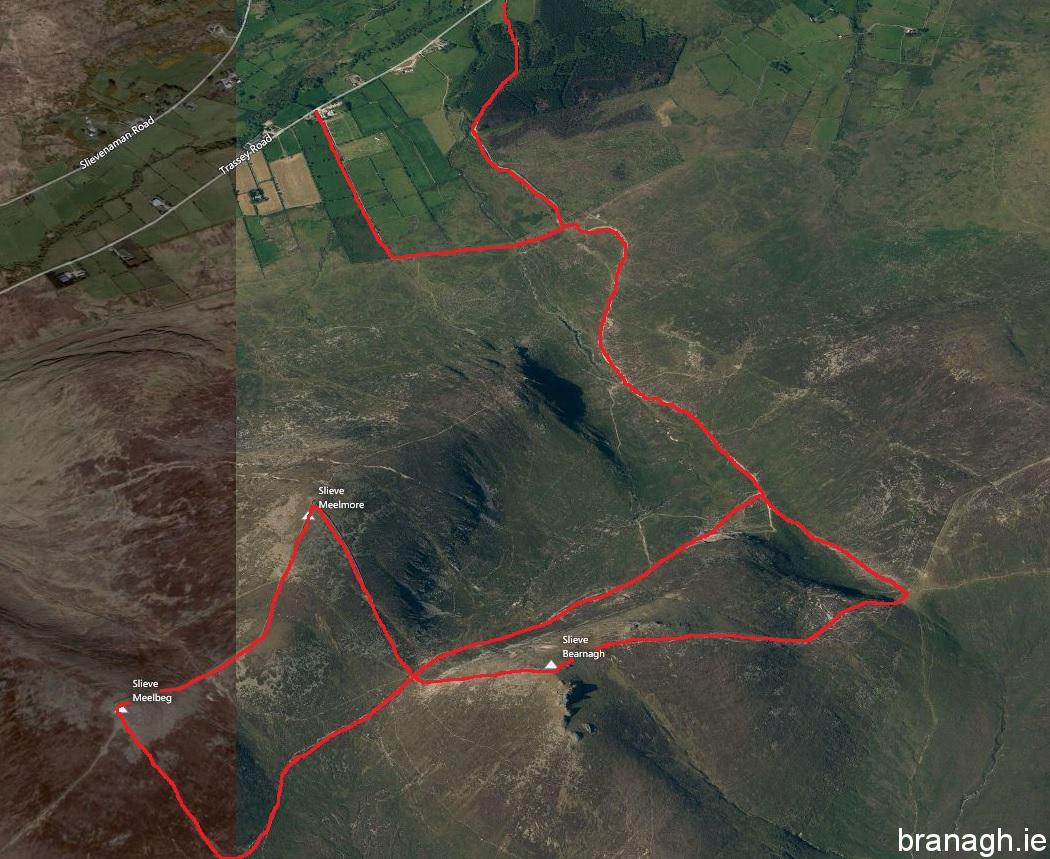
Above: Trassey track with Slieve Bearnagh directly in front.
| Bearnagh 739m / 2425ft Meelbeg 708m / 3233ft Meelmore 687m / 2253ft I find Slieve Bearnagh quite similar to Binnian in many ways with it’s huge Tors at the north end and then more at the summit further to the south. Bearnagh can be climbed on it’s own but is often climbed along with Meelmore and Meelbeg. All three peaks are very close together so climbing the three together makes for a nice hike. On the route shown below in red all three peaks are climbed from Trassey Track, either from Meelmore Lodge as a start point or the car park at Clonachullion Wood. This would be my usual start point. From here the lane is followed through a small section of forest, through two gates before it breaks out onto the open mountain track. The track rises gradually with Slieve Bearnagh and Hares Gap directly ahead. To climb Bearnagh first the route is taken all he way to Hares Gap. The last section becomes steeper with no clear path and more of an enjoyable scramble among the rocks. Hare’s Gap itself can be a busy section of the Mournes, attracting a lot of hikers, especially in summer months. From there the route turns right to begin the ascent up Bearnagh itself. There re few steep steps to begin with before an almost flat section is reached that takes the path out to the left away from the Mourne wall. The path then rejoins the wall at the bottom of the very steep section that runs all the way to the North Tor. The path then runs around the left side of the North Tor, into a slight dip before ascending one last time to the summit. |
|||
 Slieve Bearnagh, Meelmore and Meelbeg from Trassey Track. Slieve Bearnagh, Meelmore and Meelbeg from Trassey Track. |
|||
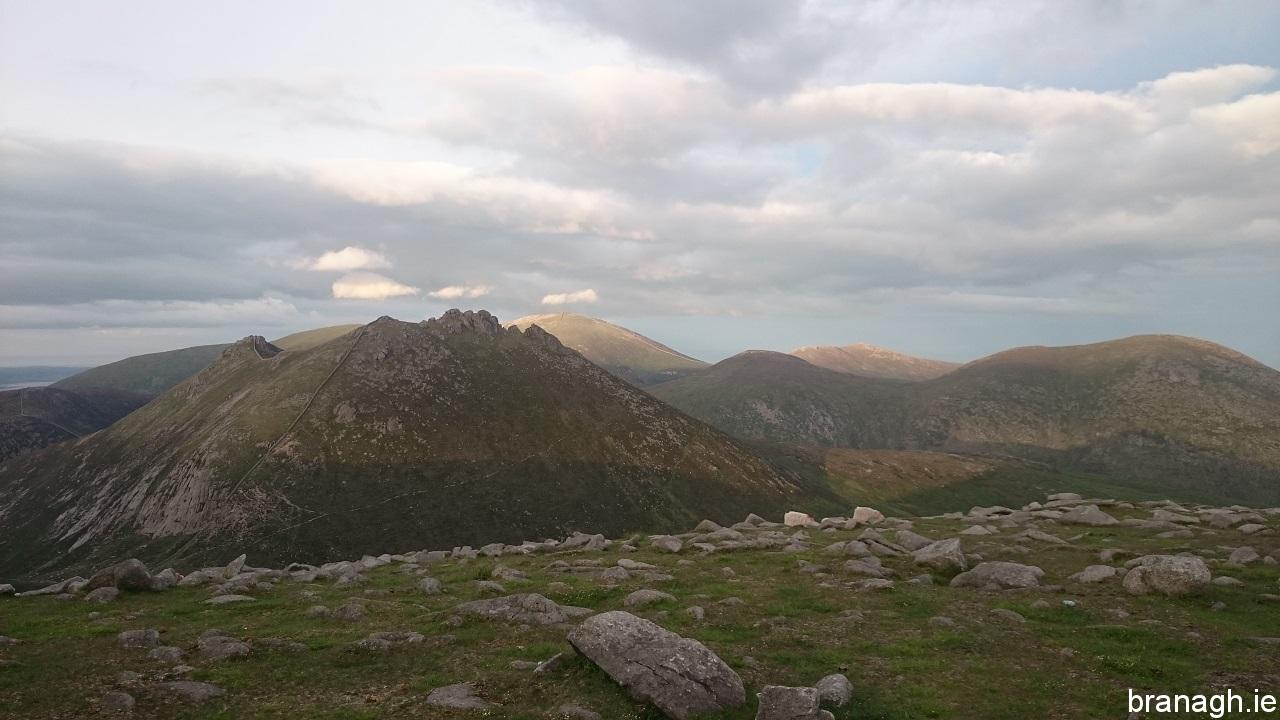
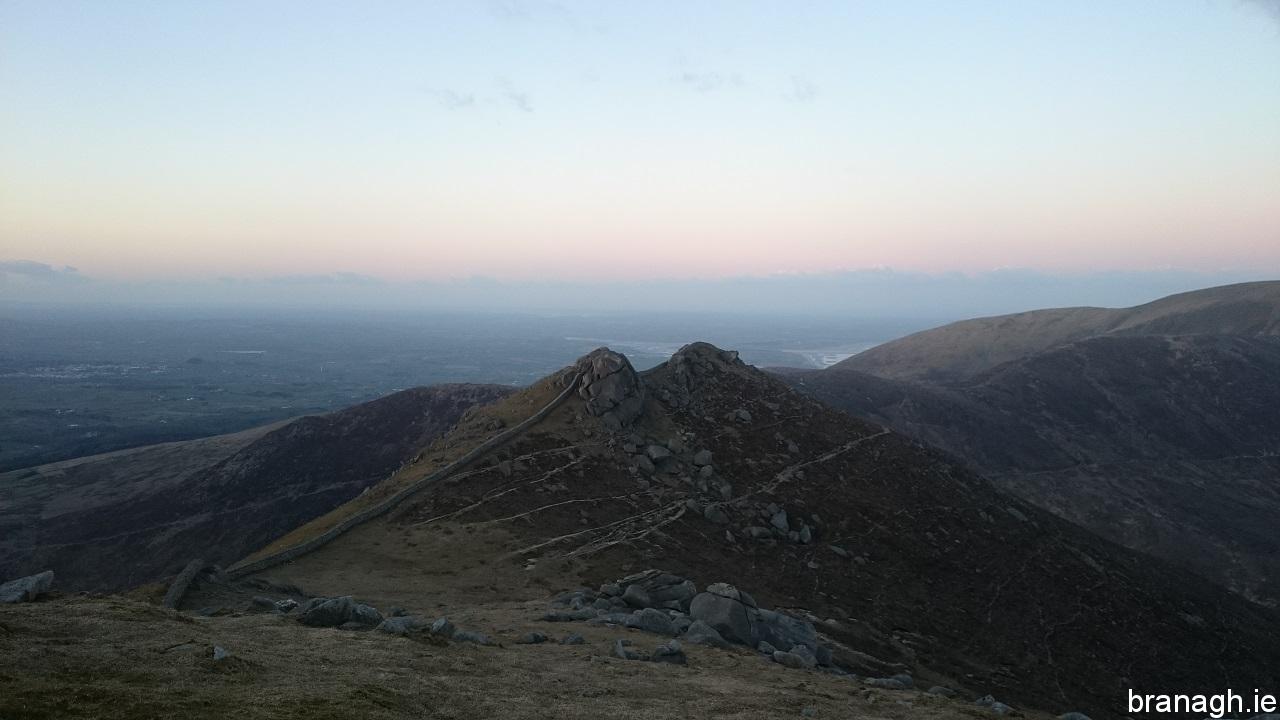 Looking back at the North Tor from Bearnagh summit. Looking back at the North Tor from Bearnagh summit. |
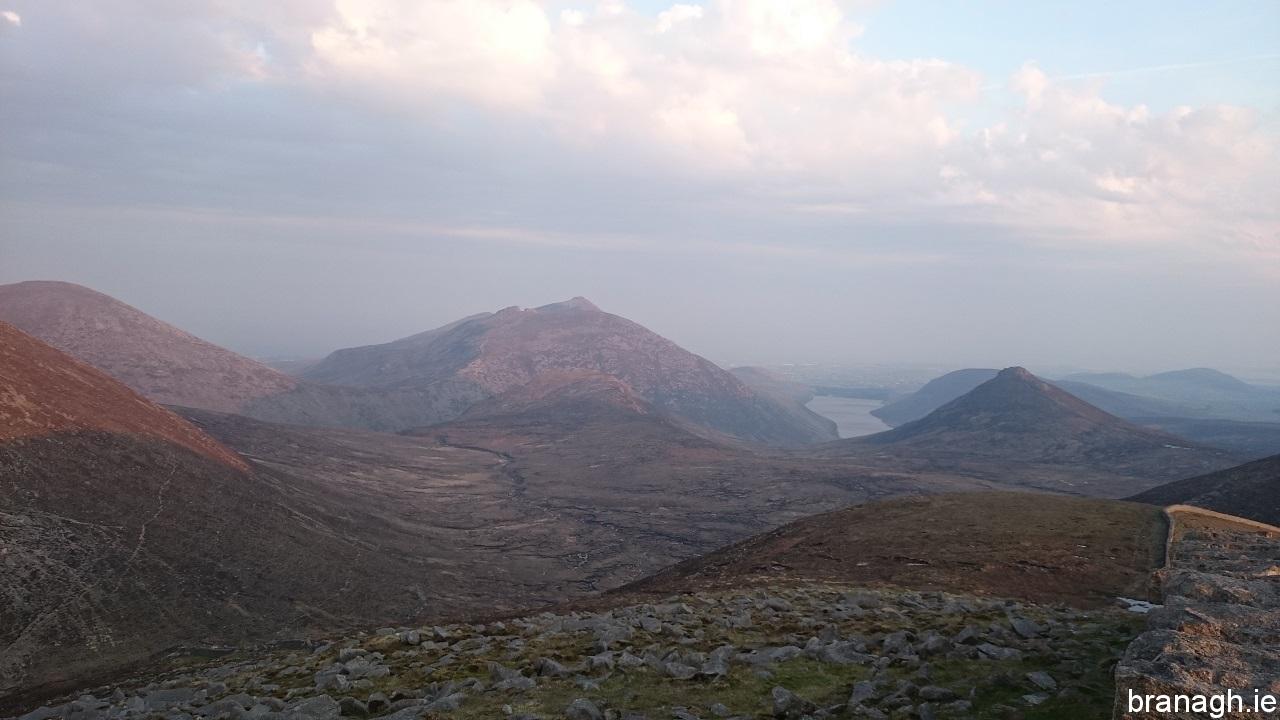
 Doan, Lough Shannagh and Slieve Muck from Bearnagh summit. Doan, Lough Shannagh and Slieve Muck from Bearnagh summit. |
||
| From the summit of Bearnagh we can go down the opposite side toward Meelmore. This side is also very steep. Close to the bottom the path moves to the left to avoid a section that is too steep to descend. This section of Bearnagh in fact used by rock climbers. Once at the saddle between Bearnagh and Meelmore it is a short hike up along the wall to the stone shelter and then on to the summit of Meelmore, although there are large rocks to negotiate on the way up. Continuing to follow the wall, another short hike will take us to the summit of Meelbeg. The route from Meelmore to Meelbeg is mostly pleasant and grassy underfoot. Leaving the summit of Meelbeg and heading directly down in the direction of Ben Crom will intercept a path which runs around the base of Meelbeg and Meelmore. Turning left onto this path wil lead back to the saddle between Bearnagh and Meelmore before continuing to descend all the way back down to Trassey Track. |
|||
 Looking toward Binnian and Silent Valley reservoir from Meelmore summit. Looking toward Binnian and Silent Valley reservoir from Meelmore summit. |
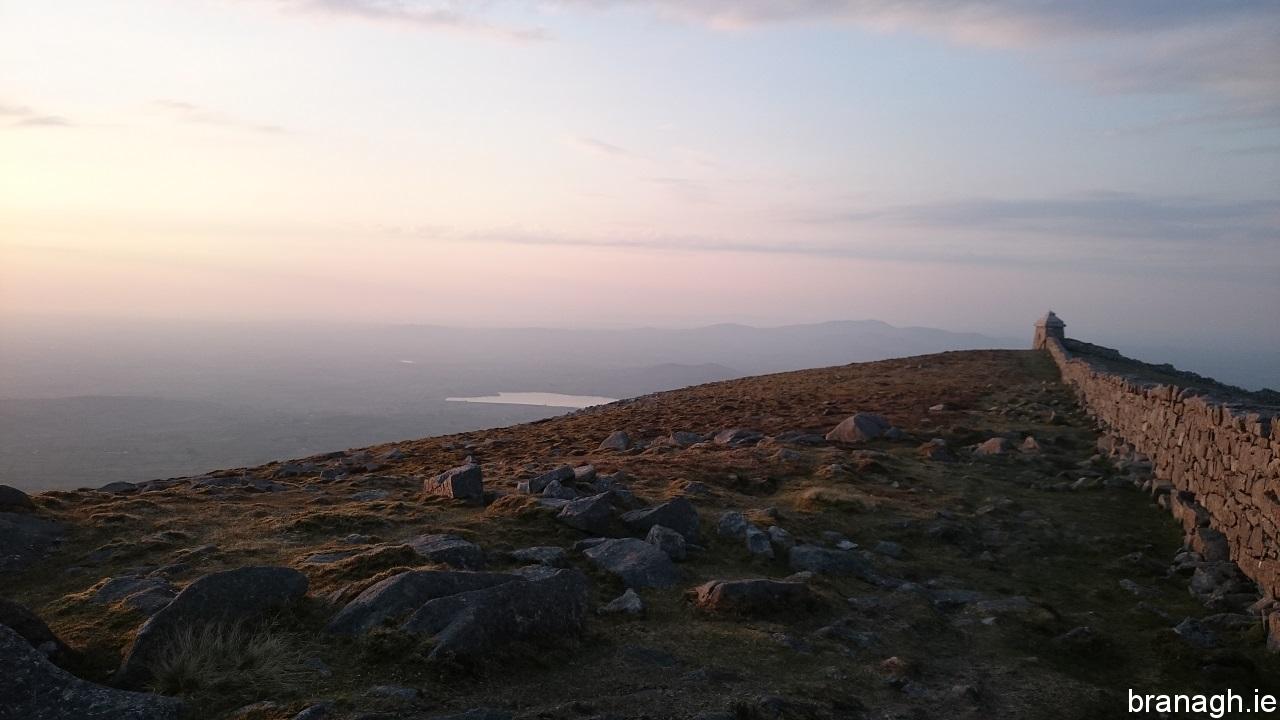 The stone shelter on Meelmore as seen from the summit. The stone shelter on Meelmore as seen from the summit. |
 Bearnagh with Donard behind, from Meelbeg summit. Bearnagh with Donard behind, from Meelbeg summit. |
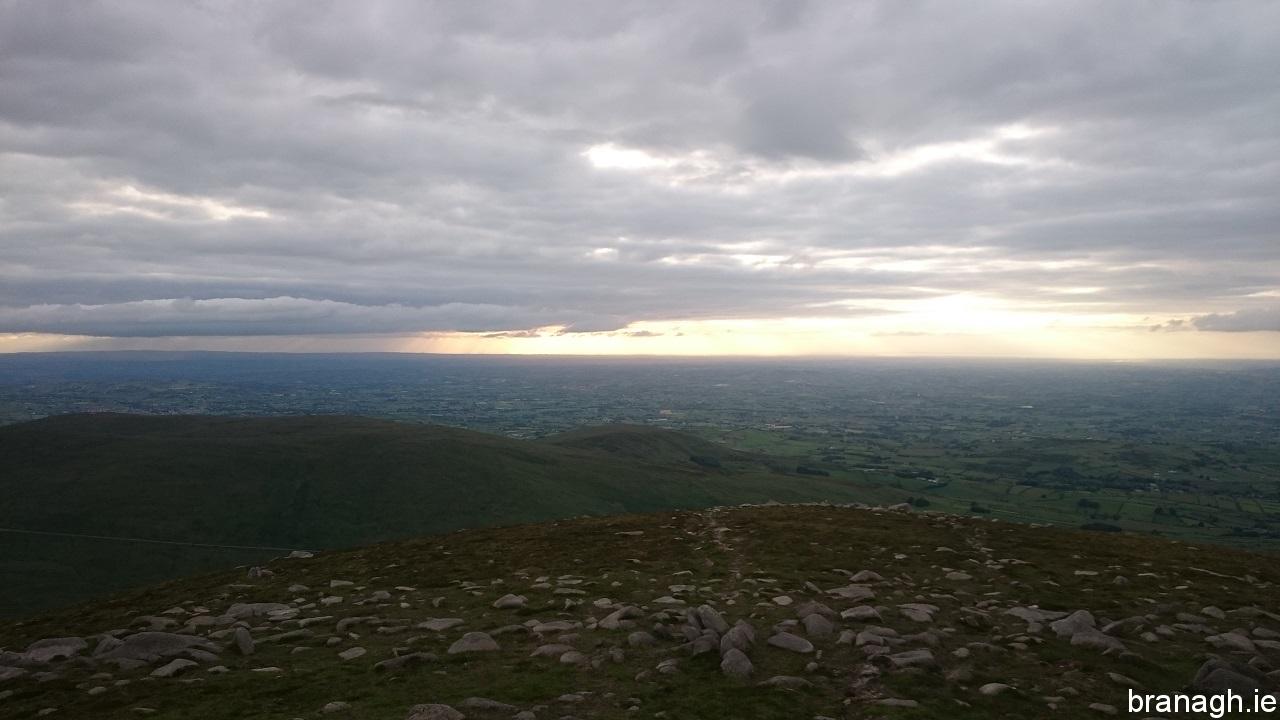 Rain showers far to the west, from Meelbeg summit. Rain showers far to the west, from Meelbeg summit. |
| Check out my tips and safety information for the hills here | |||